SADL Version 3 Build Instructions
Last revised
10/08/2020.
Introduction
This document provides step-by-step instructions for creating an Eclipse
Plug-in Development Environment for the SADL grammar and IDE. It
includes two different ways of installing Eclipse, followed by steps to
be taken after installing Eclipse, regardless of which method of
installation was followed. These instructions are for setting up a
development environment on a local machine. This development environment
can then be used to generate new SADL updates, to make
modifications/extensions to the SADL code, or to create new Eclipse
plug-ins to create extensions to the SADL grammar/IDE.
Setup Steps
- Create a folder in the local file system under which the source code
and Eclipse workspace will be located. (For example, on MS Windows this
might be "c:\sadl".) This folder will be referred to as DEV-HOME.
- Create a folder under DEV-HOME named "git".
- Clone the SADL github repository under DEV-HOME/git.
- Using the Git Bash client, change directory so that the
DEV-HOME/git is the current directory
- Go to SADL project on github.com: https://github.com/SemanticApplicationDesignLanguage/sadl
- Copy the URL for cloning by clicking on the button "Clone or
download"
- Using the Git Bash client, type "git clone " and then paste in the
URL copied in the previous step
- Note: if you are behind a firewall it may be necessary to set
proxies with a command like "export https_proxy=http://...:80".
- Download and install (if not already present) the Java 11 JDK
(see https://www.oracle.com/technetwork/java/javase/downloads/index.html
or https://adoptopenjdk.net/).
- Install Maven so that builds can be run from the command line
- Download and install Maven 3.5 or later from
http://maven.apache.org/download.html.
- Configure proxies if
necessary by editing .../.m2/settings.xml under your user folder
- Make sure Maven is on
the classpath. Check in a cmd window with "mvn -version".
- Install Eclipse 2020-12 by one of the methods below.
- Method 1: Install Eclipse by Direct Download
- Method 2: Install Eclipse Using the Eclipse Installer
- Download the Eclipse Installer
- Change to Advanced Mode
- Configure proxies if behind a firewall (mouse over icons on
lower left corner until the one for Network Proxies settings is
found)
- Select Eclipse IDE for Java Developers as Package
- Select 2020-12 as version
- Finish
- Start and configure Eclipse
- Start Eclipse (on Windows, run Eclipse.exe in the "eclipse" folder
under your installation folder)
- Switch your workspace to DEV-HOME/ws (or whatever you wish to name
your workspace), File -> Switch Workspace -> Other..., then
Browse to and create folder "ws" (or whatever you chose) under
DEV-HOME)
- Configure proxies if necessary if behind a firewall (Preferences
-> General -> Network Connections)
- Make the Java JDK installed above the default JRE (Window ->
Preferences -> Java -> Installed JREs -> Add, then browse
to the folder where the Java JDK is installed, select. Once added,
check to make default.)
Build the Projects
- In a command line window, change directory to the this folder in local
SADLsource code repository, the SADL parent
project:.../git/sadl/sadl3/com.ge.research.sadl.parent
- Do a clean by typing the commend "mvn clean". Let it finish and verify
that there are no errors.
- Do a build by typing the command "mvn install -U". Let it finish and
verify that there are no errors.
Import Maven Projects into Eclipse
- Start Eclipse if not already running
- Import as Maven projects (File -> Import... -> Maven ->
Existing Maven Projects):
- Browse to .../git/sadl/sadl3/com.ge.research.sadl.parent, select
the folder.
- Select the parent project and all projects under it, then click
Finish
- You should get a modal dialog during the course of the import that
is something like this:
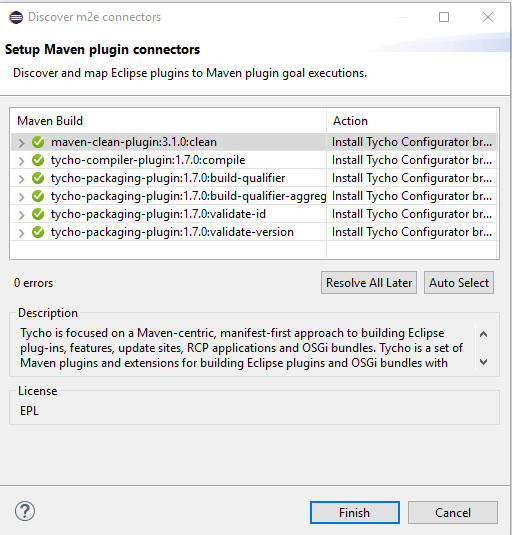
- There should be no errors in this dialog box.
- If there are errors they must be resolved before you continue.
- If the Maven plug-in connectors are not found, it may be
due to a connectivity issue
- To check connectivity, you can click on Help -> Eclipse
Marketplace... The Marketplace dialog should populate with
information from the Internet
- One potential problem that may occur behind a firewall has
to do with the Java "cacerts" files. You may need files that
are created for your organization. If so, be sure to replace
the cacerts files for both the JRE that Eclipse starts up
with and the JDK specified in Eclipse preferences. This
error is accompanied with a message referencing "PKIX".
- Click Finish
- You may be prompted to install Tycho Project Configurators:
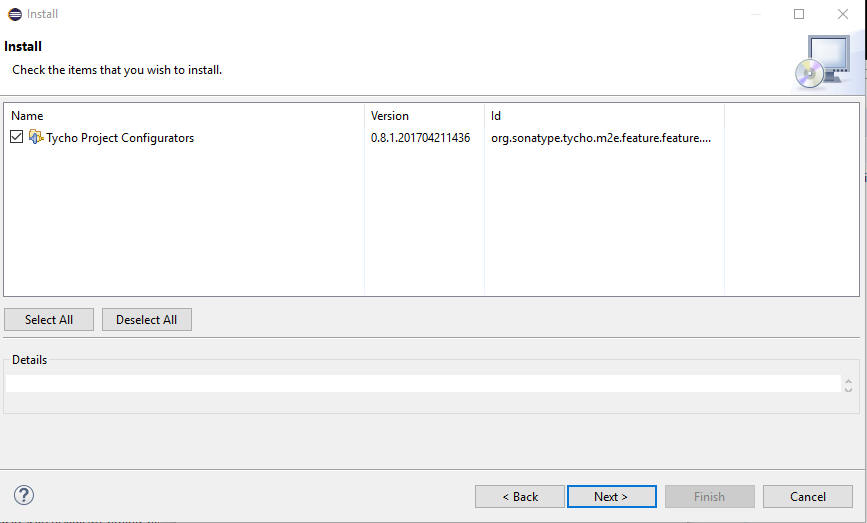
- Leave the item checked and click Next until you can accept the
license and click Finish.
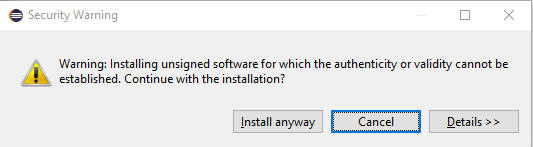
- The content is unsigned so to install you must click "Install
anyway"
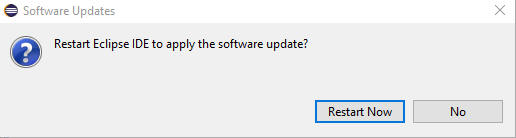
- Restart Eclipse to apply software updates
- Select all imported projects in the Package Explorer window and do a
Maven Project Update (right-click on the selected projects, select Maven
-> Update Project...)
- Set the target platform to com.ge.research.sadl.target and let all
builds resulting from the change complete
- Window -> Preferences -> Plug-in Development -> Target
Platform, check "com.ge.research.sadl.target (if two appear chose
the one in the target, not parent, project), then click "Apply and
Close"
or
- Open the file "com.ge.research.sadl.target" in the project
"com.ge.research.sadl.target", click on "Load Target Platform" or
"Set as Active Target Platform" in the upper-right corner.
- If there are any errors remaining, do a clean/build:
- Make sure that Build Automatically... is checked (on the toolbar's
Project dropdown menu, "Build Automatically should be checked; if
not check it)
- With all projects selected, clean and build all projects (Project
-> Clean...)
- Note: sometimes the reasoner/translator projects com.ge.research.sadl.jena-wrapper-for-sadl
and com.ge.research.sadl.swi-prolog-plugin projects show an
error in the project pom.xml files after a clean/build of
all projects. If this occurs, do a clean/build of just these two
projects and the error should go away.
Validating the Build Environment
At this point there should be no errors in any of the projects.
- Right-click on the com.ge.research.sadl project and select Run As
-> Eclipse Application. or Debug As -> Eclipse Application. Note
that you may need to select Run Configurations... to get to Eclipse
Application.
- If you wish to create a configuration to customize
- Do Run As -> Run Configurations... or Debug As -> Debug
Configurations
- Create a new configuration under Eclipse Application
- Click on Run or Debug.
- A new instance of Eclipse should start with the SADL plug-ins
installed.
- To verify, create a new project (File -> New -> Project...
-> General -> Project, no spaces allowed in names) and create
a file in the project (File -> New -> File) with a name ending
in ".sadl", e.g., "test.sadl" (again, no spaces in name).
-
Content assist (normally control-space, see Window
-> Preferences -> General -> Keys) at the beginning
of the new file should cause "uri" to be inserted.
- Additional content assist requests should complete a first
line. Note that sometimes a space must be added after an entry
before content assist will give suggestions for the next word.
- You might end up with something like this:
uri "http://sadl.org/test.sadl" alias test.
Test is a class described by pass with values of type boolean.